Home Appliance Help · Reviewed
Most TV faults are not as serious as they look. Before you pay for a repair or throw the set away, work through this plain-language guide — it covers the checks anyone can do at home, what each fault usually means, what repairs cost in 2026, and the point where buying new makes more sense.
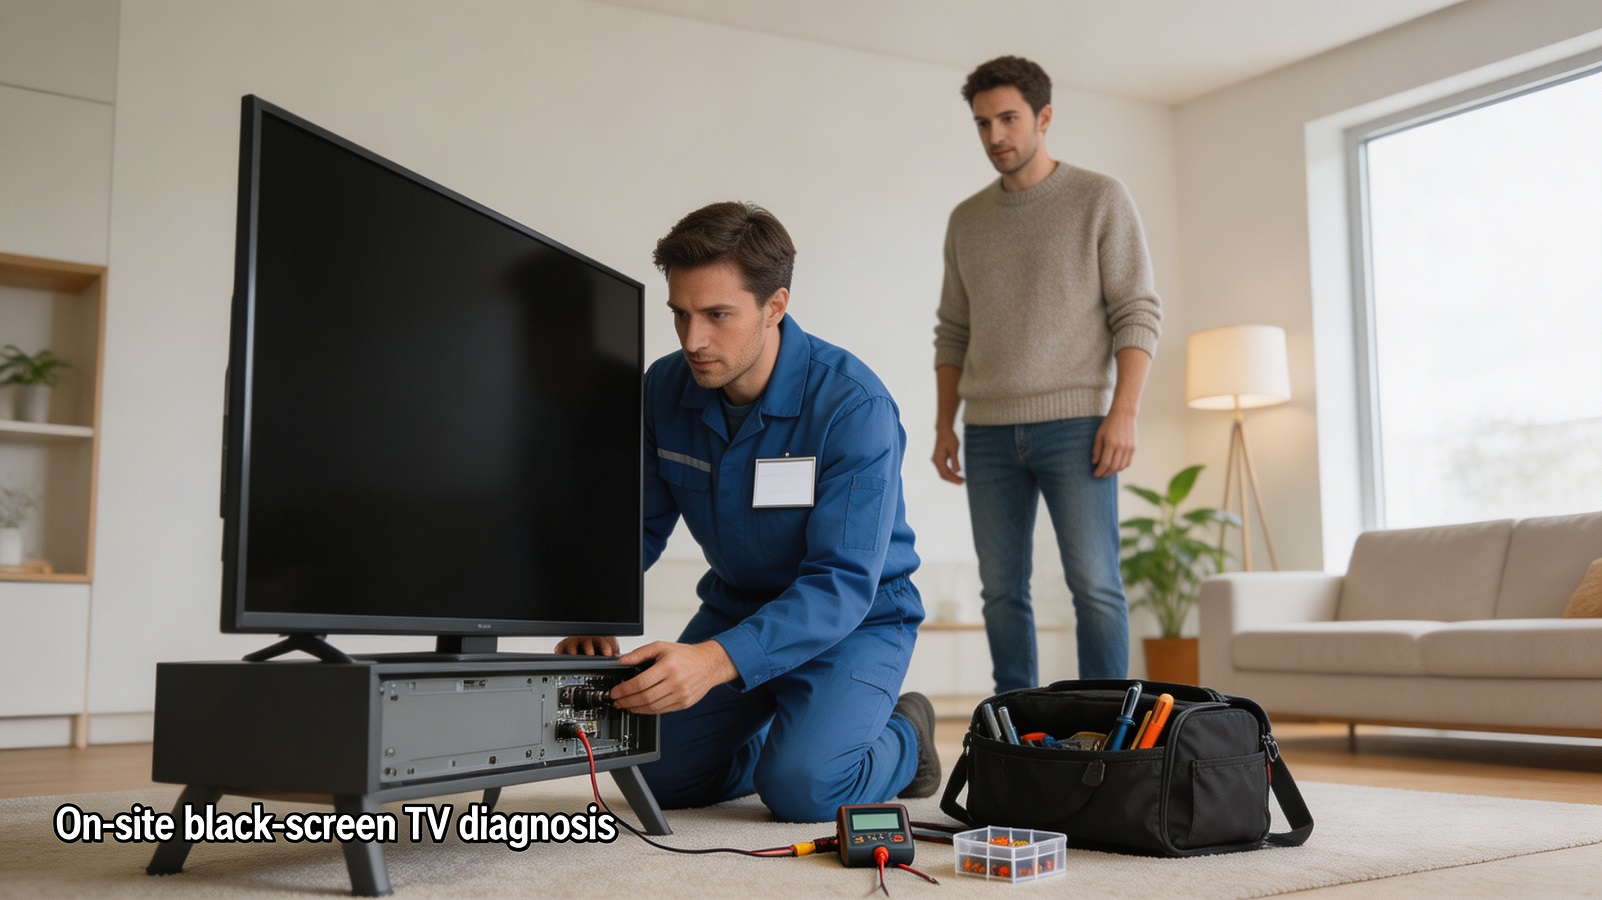
Safety First: Three Checks Before You Touch Anything
A TV holds high voltage inside its power supply even after you switch it off. Doing the easy checks first keeps you safe and, most of the time, solves the problem without opening the case at all.
- Power down and wait 60 seconds. Pull the plug from the wall — do not just press the power button. Leave it unplugged for a full minute, then hold the TV's own power button for 30 seconds to drain leftover charge. Plug it back in and try again. This "cold boot" clears a surprising number of freeze-ups and blank screens.
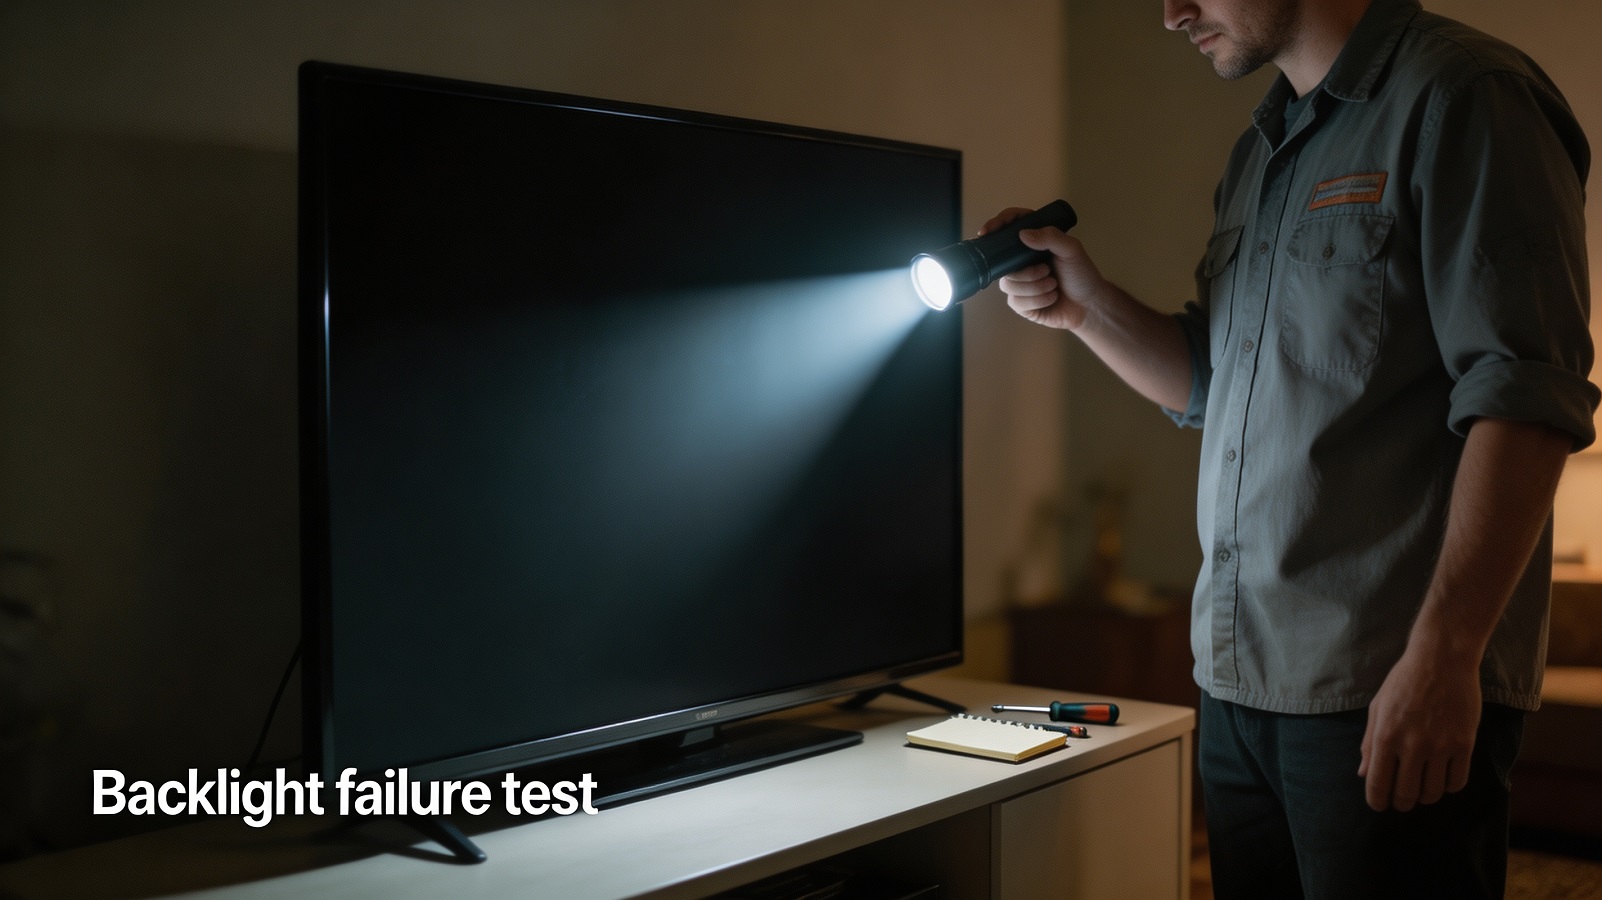
- Do the flashlight test. In a dim room, shine a torch close to the screen at a low angle while the TV is on. If you can faintly see a picture or a menu glow, the screen itself is fine and the backlight is the likely cause. That single test tells you whether you are looking at a cheap fix or an expensive one.
- Check your warranty before anything else. In many markets the whole TV carries a one-year warranty while core parts such as the panel, backlight assembly and logic board carry three years. If you are inside that window, contact the brand's service line first — opening the case yourself can void the cover.
Stop and call a professional if: you smell burning, see smoke or scorch marks, hear a repeating clicking or buzzing from inside the set, the screen is cracked or leaking dark fluid, or the TV has been exposed to water. Do not open the back cover in these situations.
Never do this: do not remove the rear panel while the TV is plugged in, do not use a wet cloth on a warm screen, and do not press hard on the panel with your fingers — pressure marks on LCD and OLED glass are permanent.
TV Will Not Turn On: Work From the Wall Inward
Start at the power socket and move towards the TV. That order rules out the cheap causes first.
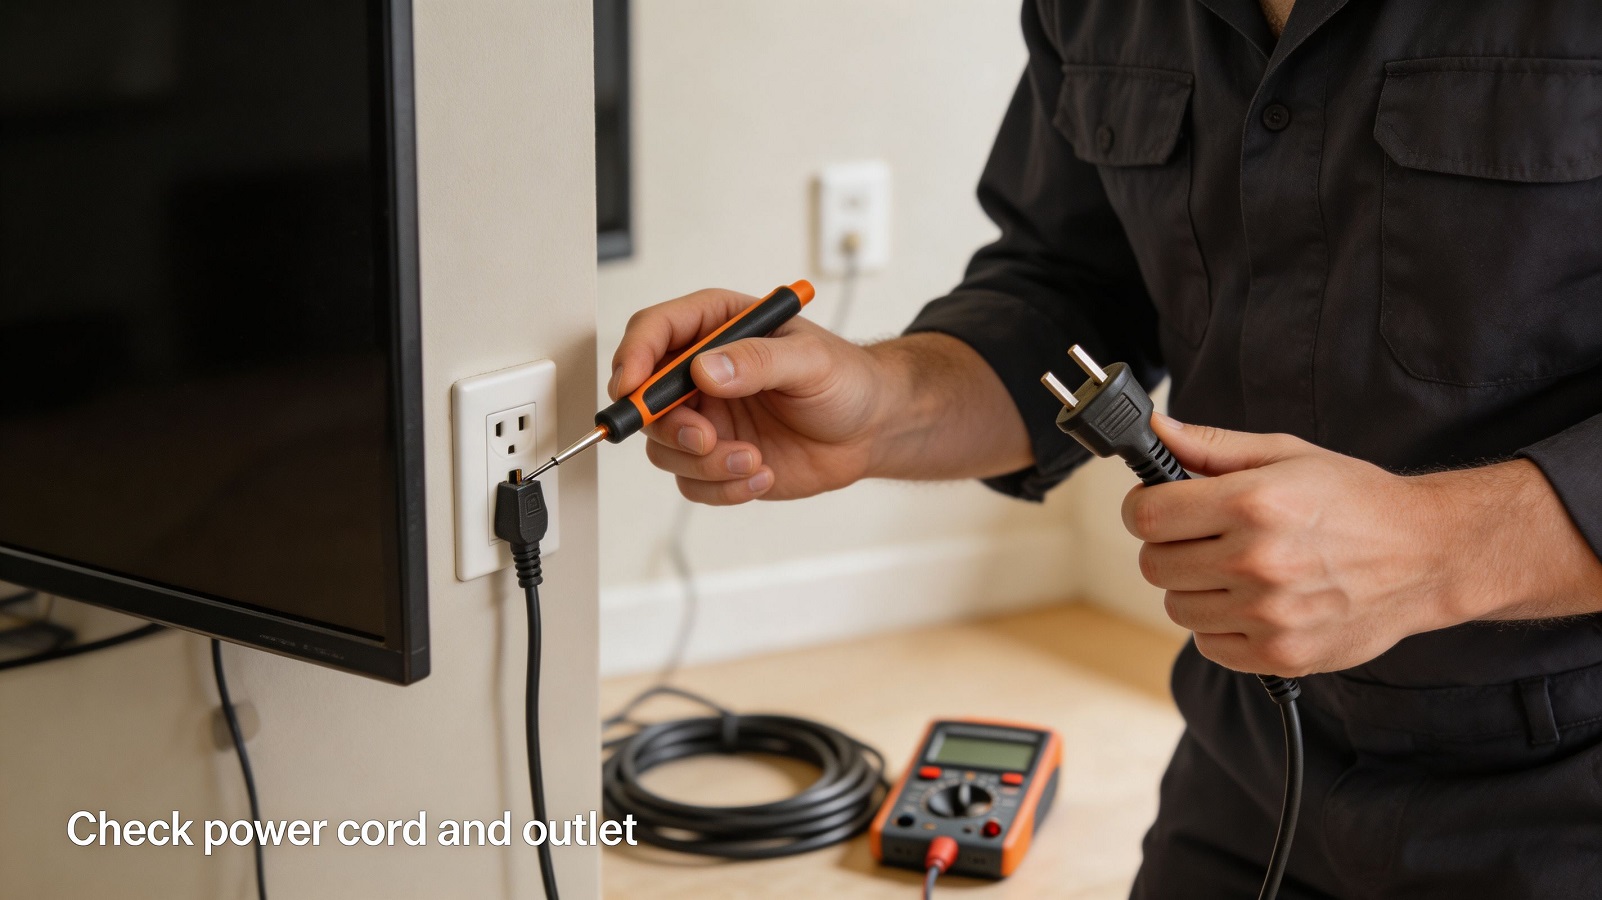
What the standby light tells you
- No light at all: the TV is getting no power, or the power board has failed. Test the socket with a lamp or phone charger, try a different socket, and inspect the cord for kinks or a loose fit at the TV end. If the socket works and the light stays dark, the power supply board is the usual suspect.
- Light is on, screen stays black: power is reaching the TV, so look at the backlight, the main board or the panel. Run the flashlight test from section one.
- Light blinks in a repeating pattern: many brands use blink codes to point at a specific board. Count the blinks, write the number down, and quote it when you contact support — it saves a lot of back-and-forth.
- TV turns on then switches itself off: often overheating protection. Check that vents are not blocked by a wall, cabinet or dust, give the set room to breathe, and try again after it has cooled.
Quick win: surge protectors and power strips fail too. Plug the TV straight into the wall socket for one test. If it works, replace the strip rather than the TV.
Sound but No Picture: The Most Common TV Fault
You can hear the programme or the menu click, but the screen is black. This is the fault people most often assume means the TV is finished. Frequently it is not.
- Confirm the input source. Press the source or input button and step through HDMI 1, HDMI 2, TV, AV. A set-top box, games console or streaming stick that is switched off will give you a black screen with no fault at all.
- Re-seat every cable, one at a time. Unplug and reconnect each cable at both ends. Check HDMI plugs are fully home and not bent. Where possible, move the cable to a different HDMI port on the TV.
- Swap the cable. Use a certified high-speed HDMI cable. For 4K at 60Hz or higher you need a cable rated for the bandwidth; an old or damaged cable produces black screens, flicker and drop-outs.
- Test the TV on its own. Disconnect all external devices and open the TV's built-in menu or a pre-installed app. If the menu shows up clearly, the TV is fine and the problem is the external device or the cable.
- Run the flashlight test again. Faint picture under the torch means the backlight or its driver board has failed. This is a repairable fault on most LED and LCD sets, though it needs the panel removed, so it is best left to a technician.
- Check picture settings. Brightness turned all the way down, an aggressive energy-saving mode, or a picture-off audio-on shortcut can all look like a dead screen. Reset picture settings to default from the menu.
Worth knowing: a large share of black-screen reports trace back to soft problems — a loose power or signal connection, the wrong input selected, or a system cache glitch that a restart clears. Board-level faults make up a smaller slice. Always exhaust the free checks first.
Lines on the Screen, Flickering and Dark Patches
Vertical or horizontal lines
- Soft reset first: unplug for 60 seconds, hold the power button for 30 seconds, plug back in. Cheap and effective often enough to be worth trying.
- Change the source: if lines appear only on one app or one HDMI device, it is a signal or software issue, not the panel.
- Update the firmware: outdated software causes display artefacts on many smart TVs. Check Settings → Support → Software Update.
- Lines on every source, including the built-in menu: this points at the ribbon cables inside the panel or the logic board. Loose or oxidised ribbon contacts are a common cause and are often repairable; a damaged panel usually is not worth the cost.
Flickering or colour shifts
Flicker is most often a loose HDMI connection, a mismatched refresh rate, or outdated software. Re-seat the cable, set the TV's motion or refresh options back to default, and install any pending update. If flicker only happens on streamed content, your connection speed is the likely cause — raise the stream quality setting on your router side or move closer to it.
Dark patches, dim corners or uneven brightness
On LED-backlit sets this usually means one or more backlight strips have failed, or the diffuser sheet behind the panel has come loose. Both are internal repairs that require removing the panel — a job with real risk of cracking the glass, so it should be handled by someone experienced.
Grainy or noisy picture
Not a fault. Turn on the TV's noise-reduction option for non-film content, and check the source quality. Low-bitrate streams and old broadcast recordings will always look soft.
Picture but No Sound
- Press the volume button on the remote to confirm the TV is actually on and not muted. Check that a mute shortcut has not been triggered by accident.
- Check the audio output setting. If the TV is set to output through a soundbar, AV receiver or Bluetooth headphones, its own speakers will stay silent. Switch audio output back to TV Speaker to test.
- Inspect the cable. A damaged or partly inserted HDMI or optical cable passes picture but drops audio. Re-seat both ends or swap the cable.
- Test a different source. Sound from the built-in TV tuner but not from an app means it is a software or app issue, not the speakers.
- Look for physical blockage. Dust, a wall mount pressed against the speaker grille, or a cabinet shelf can muffle output badly.
If sound is missing on every source and the output setting is correct, the internal speakers or the audio section of the main board need a technician's look.
Smart TV Problems: Wi-Fi Drops, App Crashes and Slow Menus
Software faults are the fastest-growing category of TV service calls. The good news is that almost none of them need a repair visit.
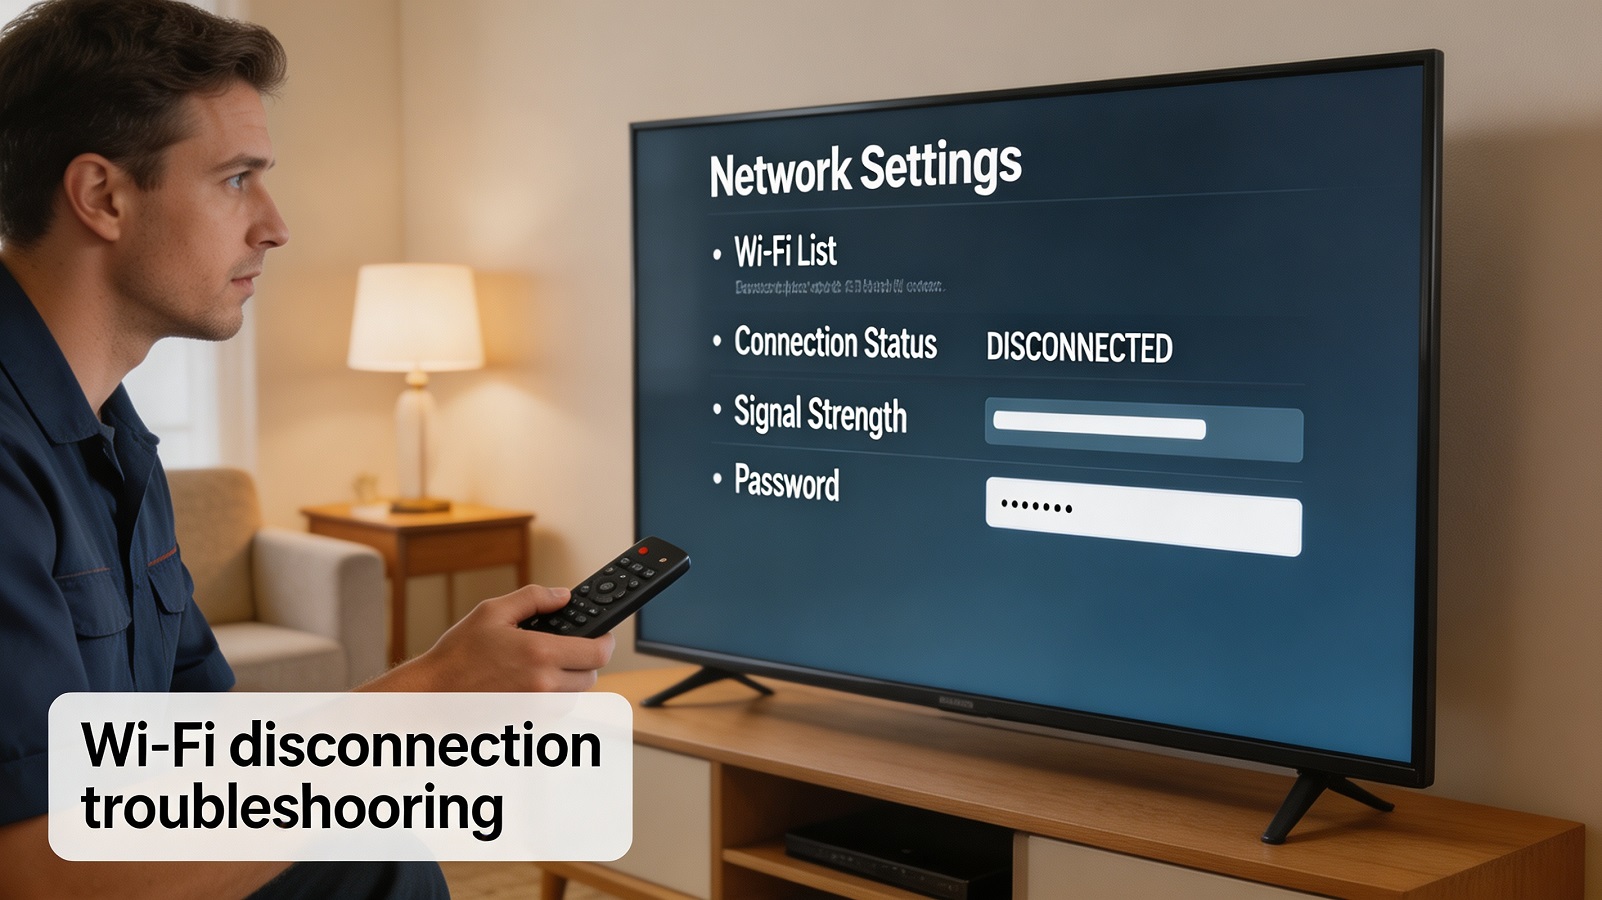
TV keeps disconnecting from Wi-Fi
- Restart everything cleanly: TV, router and modem. Unplug the router for 30 seconds before plugging it back in.
- Forget the network and rejoin it from the TV's Wi-Fi settings. This clears a corrupted saved profile.
- Reset network settings on the TV (usually Settings → Network → Reset Network), then reconnect.
- Check distance and obstacles: keep the TV within roughly ten metres of the router and avoid load-bearing walls, metal cabinets, fish tanks and microwave ovens in between.
- Check the router side: make sure DHCP is on, and turn off MAC-address filtering, AP isolation and client limits that may be blocking the TV.
- Separate the two bands: give 2.4GHz and 5GHz different network names. Some older TVs cannot handle a combined band, and many mid-range models only support 2.4GHz.
- Fix the channel: set 2.4GHz to channel 1, 6 or 11, and 5GHz to 36, 40 or 44. Overlapping channels cause random drop-outs.
- Match the security mode: if your router is on WPA3 or a Wi-Fi 6-only mode, an older TV may not connect. Set the router to WPA2-PSK (AES) and enable 802.11ac or g/n compatibility, then update the TV firmware.
- Try a cable: plugging in Ethernet for one test tells you instantly whether the wireless module or the network is at fault.
Apps crash, freeze or will not open
- Update the TV firmware, then update the app from the TV's app store.
- Clear the app's cache or data where the TV allows it.
- Remove apps you no longer use — smart TVs have very little storage, and a full disk makes everything slow.
- As a last resort, restore factory settings. Write down your Wi-Fi password and app logins first.
Set a date for updates: run a firmware check every few months. Streaming services regularly raise their security and codec requirements, and an out-of-date TV can lose access to apps long before the hardware fails.
HDMI and Input Source Problems
- "No signal" message: the source device is off, asleep, or the wrong input is selected. Wake the device, then step through the inputs one by one.
- Picture but wrong size or cropped edges: change the picture size or aspect setting to Just Scan, Screen Fit or 16:9, and turn off any overscan option.
- 4K or HDR not showing at full quality: enable the enhanced or UHD format option on the specific HDMI port — many TVs leave ports in a compatibility mode by default.
- Sound and picture out of step: reduce or turn off motion-smoothing and noise-reduction processing, which add delay. Also check the audio delay or lip-sync setting if you use a soundbar.
- One port dead, others fine: the port or its ribbon connection has failed. Use a working port and have the dead one looked at during any future service visit.
Remote Control Not Working
- Replace both batteries with a fresh matched pair. Weak batteries are the single most common cause.
- Check the infrared emitter: point the remote at your phone camera and press a button. A pale light on the camera screen means the remote is transmitting.
- Clean the battery contacts if you see any white corrosion, using a dry cloth or a cotton bud.
- Re-pair Bluetooth and voice remotes: hold the pairing button combination for your brand, or remove and re-add the remote in the TV's accessory settings.
- Clear the line of sight: soundbars, decorations and glass cabinet doors can block the infrared signal.
- Use the TV's own buttons to confirm the TV responds. If the TV buttons work but the remote does not, replace the remote rather than the TV — universal and brand remotes are inexpensive.
New for 2026: Mini LED, RGB Mini LED and OLED
The 2026 model year shifted the market. RGB Mini LED moved from flagship showpieces into mainstream price bands, and the major brands all expanded their Mini LED line-ups alongside OLED. If you own a recent set, a few points are worth knowing before you arrange a repair.
Mini LED and RGB Mini LED
- No burn-in risk. Mini LED panels do not suffer the permanent image retention that OLED can develop, so they suit static content such as news channels and desktop use.
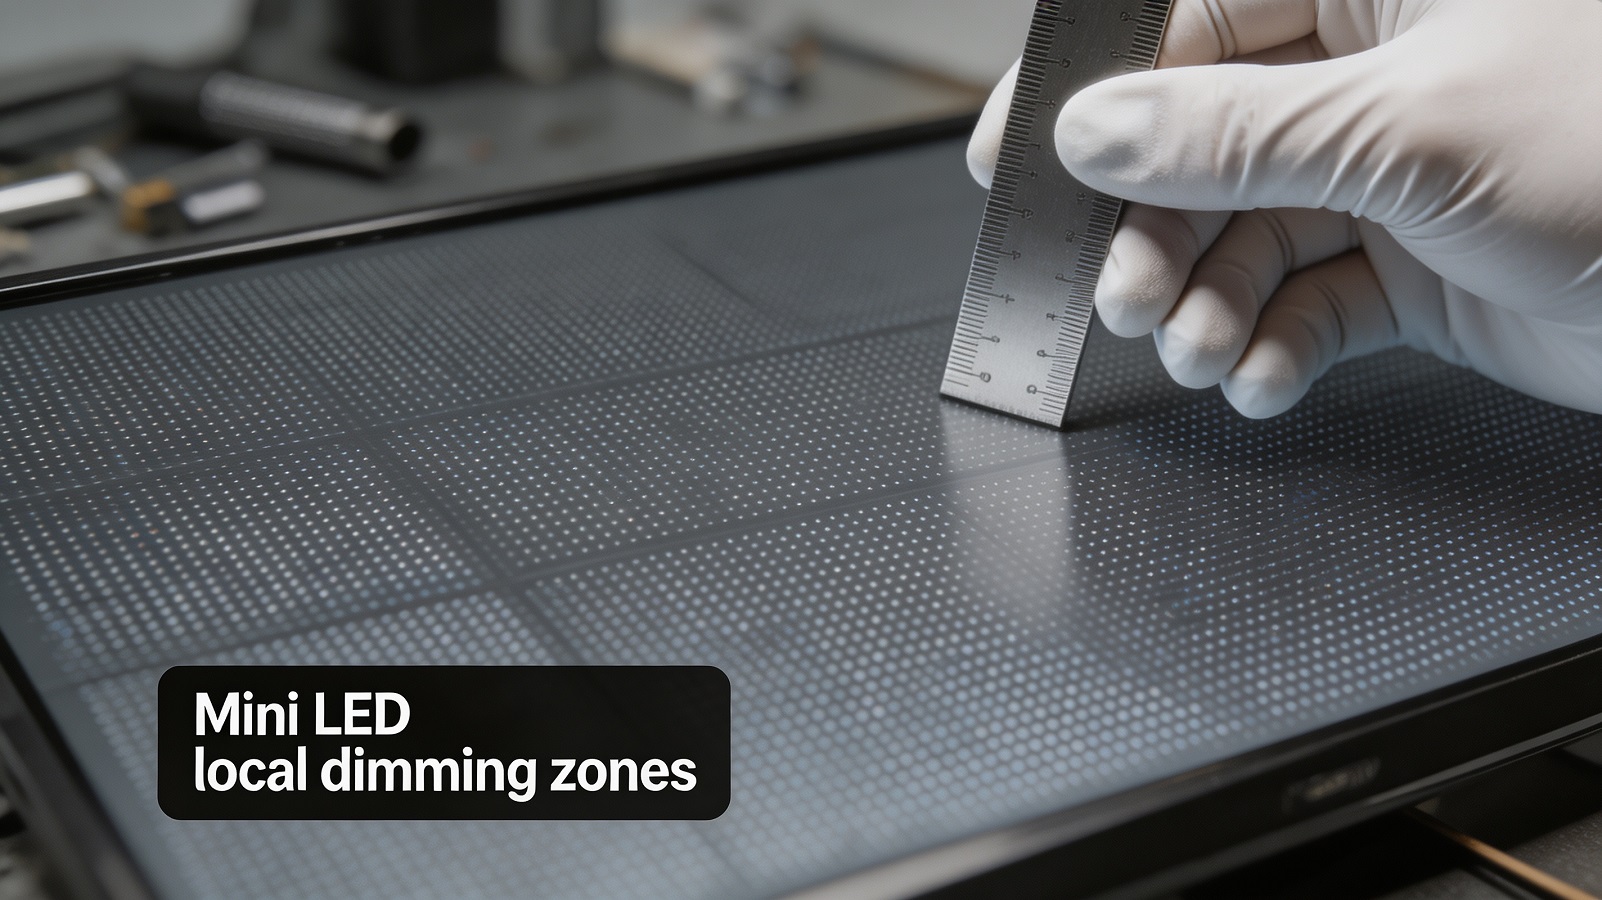
- Backlight faults look different. With hundreds or thousands of local dimming zones, a failed zone shows up as a small dark block or a patch that stays bright, rather than the whole screen going dark. Note where it appears and how big it is before calling for service.
- Halos and blooming are normal. A soft glow around bright objects on a dark background is a property of the backlight design, not a defect. Adjust the local dimming level if it bothers you.
- Heat matters. High-brightness Mini LED sets run warm. Keep vents clear and avoid enclosing the TV in a tight cabinet — sustained heat shortens the life of the backlight driver.
OLED and QD-OLED
- Image retention vs. burn-in. Temporary retention usually fades after the TV runs varied content or its built-in pixel-shift routine. Permanent burn-in does not fade and is rarely covered by warranty, so enable pixel shift and screen-saver options and avoid leaving a static logo on screen for hours.
- Let the panel maintenance cycle finish. Many OLED TVs run a compensation cycle after several hours of use. Interrupting it by pulling the plug can cause uneven brightness. Leave the set in standby overnight rather than switching it off at the wall.
- Panel replacement is rarely economical. On OLED, the panel is most of the cost of the TV. If the panel itself has failed, replacing the set is usually the better value.
Spots and dots on any 2026 panel
Distinguish permanent defects from temporary glitches. A dot that never moves and never changes is a stuck or dead pixel. A white spot that moves around or disappears when you change source is usually a signal problem — re-seat or replace the HDMI cable and try another port before you assume the panel is damaged.
TV Repair Costs in 2026
Prices vary widely by country, screen size, brand and whether you use the manufacturer's service network or an independent shop. The figures below are published 2026 price guides — treat them as a starting point for your own quote, not a promise.
| Repair type | Published range | Market | Source |
|---|---|---|---|
| LED backlight strip replacement (parts and labour) | $150 – $250 | United States | HomeAdvisor TV repair cost guide, updated June 2026 |
| General TV repair, any fault | A$65 – A$250 | Australia | Airtasker TV repair cost data, January 2026 |
| LCD TV repair | A$65 – A$139 | Australia | Airtasker TV repair cost data, January 2026 |
| Backlight components, parts only | A$12 – A$32 | Australia | Airtasker TV repair cost data, January 2026 |
| TV screen repair | £150 – £600 | United Kingdom | MyBuilder price guide, August 2026 |
| LED backlight replacement, typical job (single-source estimate) | £177 | United Kingdom | SJS TV repair price guide |
| Cracked panel replacement | $200 – $1,000+ | United States | Robots.net LED TV repair cost guide, May 2026 |
Why labour dominates the bill. The parts are often cheap. Replacing backlight strips means fully dismantling the set: rear cover, boards, then separating the LCD glass from the backlight module and putting it all back without dust or pressure marks. On many models that is a two to four hour job, and the risk of cracking the panel during the work is real. That is where your money goes.
Ask for a written quote that separates parts, labour and any call-out or inspection fee. Some providers charge an inspection fee that is credited against the repair if you go ahead; others charge it twice. Get it in writing before work starts.
Repair or Replace? A Simple Way to Decide
Use these four questions in order. They work for almost every case.
1. What actually failed?
Faults outside the panel itself — backlight strips, driver board, power board, main board, loose ribbon cables — are generally worth repairing. Physical damage to the panel (cracks, dark fluid spreading, a large dead area) is usually not, because the panel is most of the value of the TV.
2. How does the quote compare with a new set?
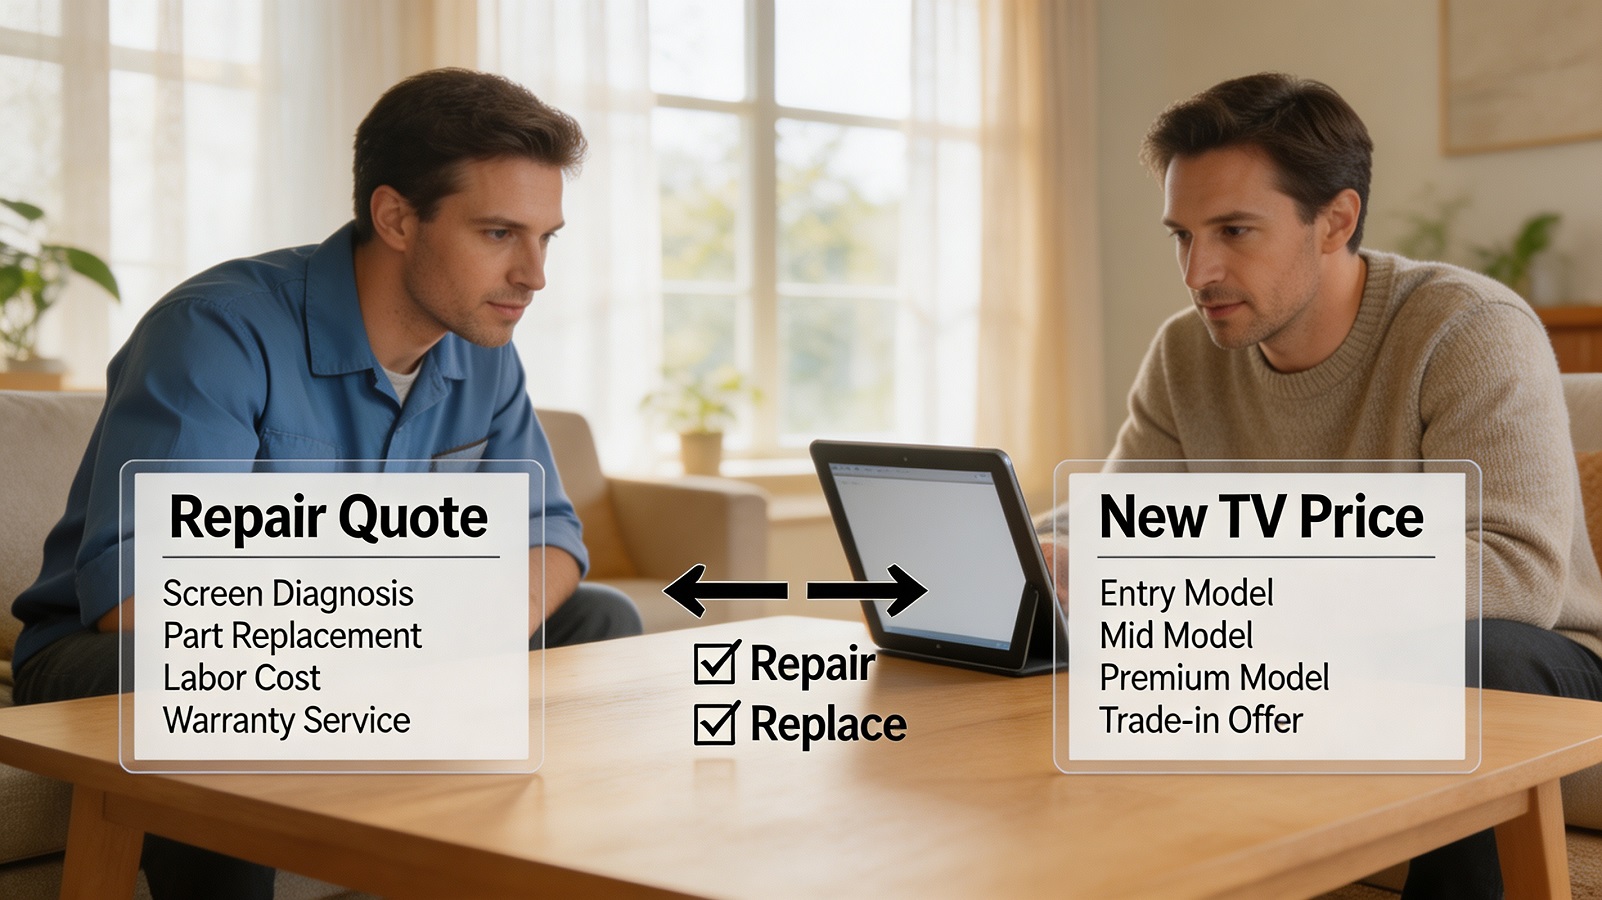
A widely used rule of thumb: if the repair costs more than 30–40% of a comparable new TV, replacing tends to make more sense. Some guides put the cut-off at 50%. Either way, look up the current price of a similar new model before you agree to anything.
3. How old is the TV?
For budget models, or any set older than roughly seven to eight years, repair often is not worth it — the panel and other components are already ageing, so a second fault tends to follow the first. A newer mid-range or premium set is usually worth saving.
4. Is it still under warranty?
If yes, use the authorised service route and keep your proof of purchase. Non-accidental faults inside the warranty period should not cost you anything.
When to Stop and Call a Professional
Hand the job over if any of these apply:
- The screen is cracked, or dark fluid is spreading under the glass.
- You smell burning, or see scorch marks, bulging capacitors or melted plastic.
- The TV trips your circuit breaker or blows a fuse when switched on.
- There has been water or liquid damage of any kind.
- The backlight test points to a failed strip or driver board — panel removal is delicate work.
- The TV is still under warranty.
- You are not comfortable working around mains electricity.
When you book the visit, tell the technician the exact make and model, the fault you saw, what you already tried, and any blinking standby-light pattern you counted. It shortens the visit and helps you get an accurate quote.
Care Tips That Extend Your TV's Life
- Leave airflow around the set. Keep at least a few centimetres of clearance behind and above the vents. Wall-mounted TVs in recessed alcoves run hotter.
- Dust the vents regularly with a dry brush or a low-suction vacuum attachment. Dust build-up is a leading cause of heat-related board failures.
- Clean the screen dry first. Use a clean microfibre cloth. If you need moisture, lightly dampen the cloth with water — never spray liquid directly onto the panel, and avoid alcohol, ammonia or window cleaner.
- Use a surge protector. Voltage spikes damage power boards. In storm-prone areas, unplug the TV during severe weather.
- Turn brightness down to a sensible level. Running at maximum brightness for years accelerates backlight and OLED panel ageing, and raises your electricity bill.
- Enable panel protection features on OLED sets: pixel shift, screen dimming, and the automatic standby timer.
- Keep firmware current and remove apps you never open.
TV Repair Questions, Answered
Is it worth repairing a TV with a cracked screen?
Usually not. Panel replacement is labour-intensive and the panel itself is the largest single cost in the TV. Published 2026 guides put screen repair anywhere from around £150 to £600 in the UK and $200 to over $1,000 in the US depending on size and brand — often close to or above the price of a comparable new set. Get a written quote and compare it against today's price for a similar new TV before deciding.
My TV has sound but the screen is black. Is it broken?
Not necessarily. Run the flashlight test: shine a torch at a low angle across the screen while the TV is on. If you can see a faint picture, the panel is working and the backlight or its driver board has failed — a repairable fault on most LED and LCD TVs. If you see nothing at all, check the input source, re-seat your cables, and test the TV's own menu before assuming the worst.
How much does it cost to replace TV backlight strips?
Published 2026 references put a backlight strip replacement at roughly $150 to $250 including parts and labour in the US, and around £150 to £600 for screen-related repairs in the UK. Parts alone are cheap; the cost is in the two to four hours of careful dismantling and reassembly. Prices rise with screen size.
Can I repair a TV myself?
The external checks — cables, sockets, input source, settings, firmware updates, network resets, remote pairing — are safe for anyone and solve a large share of reported faults. Anything that involves opening the rear cover should be left to a trained technician: the power supply holds high voltage after the TV is switched off, and panels crack easily under pressure.
How long should a TV last?
With normal use and adequate ventilation, most modern flat-screen TVs run for around seven to ten years before a component fails or the smart features stop being supported. Beyond roughly seven or eight years, repair quotes are harder to justify because other ageing parts tend to follow.
Does OLED burn-in void the warranty?
Permanent image retention is often treated as wear from use rather than a manufacturing fault, so it is frequently excluded — but terms differ by brand and region. Read your warranty document, keep pixel shift and screen-saver features switched on, and avoid leaving static logos or tickers on screen for long stretches.
My smart TV keeps losing Wi-Fi after a software update. What now?
Restart the TV, router and modem, then forget the network on the TV and rejoin it. If that fails, reset the TV's network settings and check the router: DHCP enabled, MAC filtering and AP isolation off, 2.4GHz and 5GHz given separate names, and 2.4GHz set to channel 1, 6 or 11. Older TVs may also need the router moved from WPA3 back to WPA2-PSK (AES). Plug in an Ethernet cable for one test to confirm whether the wireless module is the problem.